
Clematis is a beloved climbing plant known for its stunning blooms and ability to transform any garden space into a vibrant display of color and texture. However, many gardeners find themselves struggling to achieve the lush growth and abundant flowers they envision. The secret to success lies in understanding the unique needs of clematis and providing the right support and care.
In this article, we will explore the essential steps to growing clematis on a trellis, ensuring that you avoid common pitfalls and enjoy a thriving plant. From selecting the right variety to mastering pruning techniques, we’ll cover everything you need to know to cultivate a spectacular clematis display.
1. Understanding Clematis: A Brief Overview
Clematis is a genus of about 300 species within the buttercup family, Ranunculaceae. These perennial climbers are cherished for their large, showy flowers that can range from a few inches to over a foot in diameter. The flowers come in a variety of colors, including purple, pink, white, and blue, making them a versatile choice for any garden.
Clematis plants are classified into three groups based on their blooming habits: Group 1 (early flowering), Group 2 (large-flowered hybrids), and Group 3 (late flowering). Understanding the group to which your clematis belongs is crucial for proper pruning and care. Most clematis varieties prefer well-drained soil with a neutral to slightly alkaline pH and thrive in full sun to partial shade.
2. Choosing the Right Clematis Variety for Your Trellis
Selecting the right clematis variety is key to ensuring it thrives on your trellis. Consider the height and spread of the plant, as well as its blooming season. For a small trellis, opt for compact varieties like Clematis ‘Bijou’ or ‘Pixie’, which typically grow 2-3 feet tall. For larger trellises, vigorous growers like Clematis montana or Clematis ‘Jackmanii’ can reach heights of 10-20 feet.
Additionally, think about the color and size of the blooms you desire. Clematis ‘Nelly Moser’ offers striking pink and white flowers, while Clematis ‘The President’ boasts deep purple blooms. Matching the variety to your trellis size and aesthetic preferences will help you achieve the best results.
3. Selecting the Ideal Location for Clematis Growth
Clematis plants thrive in locations where they can receive at least six hours of sunlight per day. However, they prefer their roots to be cool and shaded, so planting them in a spot where the base is shaded by other plants or mulch is ideal. Ensure the soil is well-drained, as clematis dislikes waterlogged conditions.
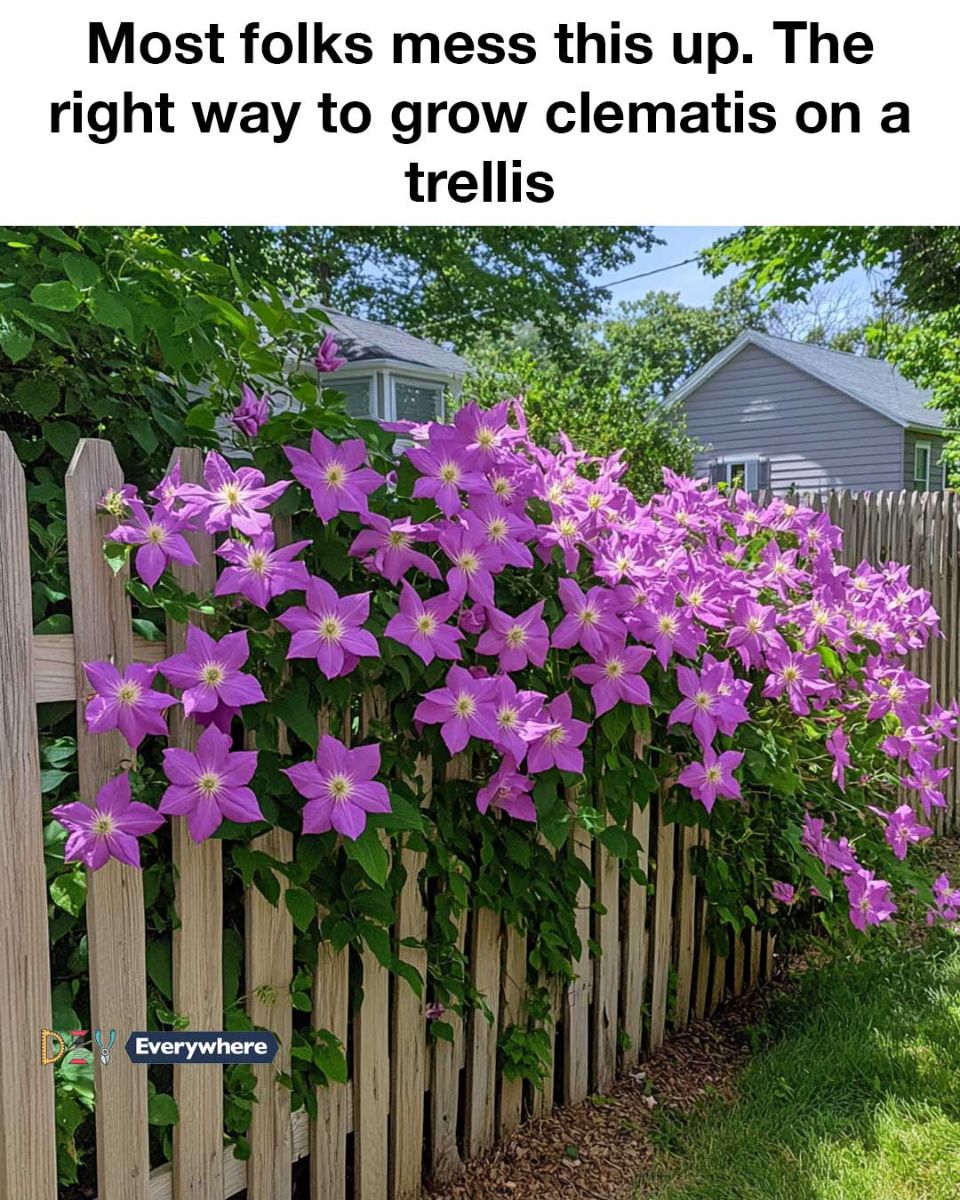
Position your trellis in a location that allows the clematis to climb freely without being obstructed by other structures or plants. If planting near a fence, ensure there’s enough space for air circulation to prevent fungal diseases.
4. Preparing Your Wooden Picket Fence for Clematis
Before planting clematis near a wooden picket fence, ensure the fence is sturdy and in good condition. Clematis can become quite heavy when mature, so a strong support is essential. If the fence lacks adequate support for climbing, consider adding a wire mesh or additional trellis panels to provide more climbing surfaces.
Ensure the fence is free from peeling paint or wood treatments that could harm the plant. If necessary, sand and repaint the fence with a plant-safe finish before planting your clematis.
5. Step-by-Step Guide: Planting Clematis Near a Picket Fence
Begin by digging a hole twice as wide and as deep as the clematis’s root ball. Amend the soil with compost to improve drainage and fertility. Position the plant so that the top of the root ball is 2-3 inches below the soil surface, which encourages new shoots to develop from the base.
Next Page
