
1. The Science Behind Vinegar’s Cleaning Power
Vinegar’s cleaning power comes from its main component, acetic acid, which typically makes up about 5-8% of the solution. This acidity gives vinegar its ability to dissolve mineral deposits, grease, and grime, making it an effective cleaner for a variety of surfaces. The acetic acid in vinegar can break down the bonds between dirt and surfaces, allowing for easier removal.
Additionally, vinegar’s acidic nature makes it a natural disinfectant, capable of killing some bacteria and viruses. While it may not be as potent as commercial disinfectants, vinegar can still reduce the presence of harmful microorganisms on surfaces, contributing to a cleaner and safer home environment.
2. Common Mistakes When Using Vinegar for Cleaning
One of the most common mistakes people make when using vinegar for cleaning is using it undiluted. Full-strength vinegar can be too harsh for some surfaces, leading to damage or discoloration. It’s important to dilute vinegar with water, typically in a 1:1 ratio, to ensure it’s safe for use on most surfaces.
Another mistake is using vinegar on the wrong surfaces. Vinegar should not be used on natural stone surfaces like granite or marble, as its acidity can etch and damage the stone. Additionally, using vinegar on electronic screens or waxed surfaces can lead to damage or a dull finish.
3. The Right Vinegar to Use for Streak-Free Windows
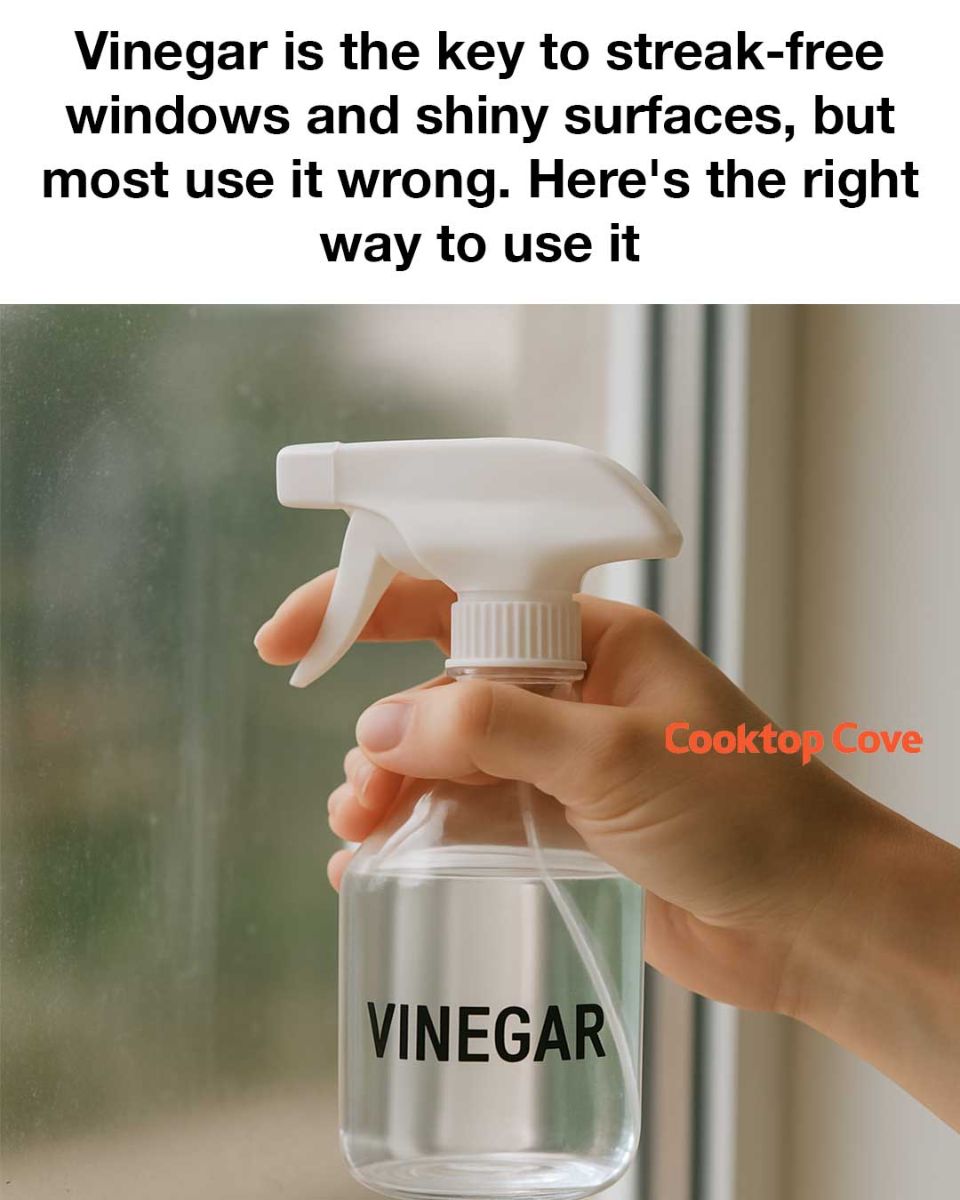
For cleaning windows, distilled white vinegar is the best choice. It is clear, colorless, and has a higher acidity level compared to other types of vinegar, such as apple cider vinegar. The lack of color ensures that it won’t stain surfaces, and its high acidity makes it effective at cutting through grime and leaving windows streak-free.
When purchasing vinegar for cleaning, look for a product with at least 5% acetic acid content. This concentration is sufficient for most cleaning tasks and ensures that the vinegar will be effective without being overly harsh.
4. Preparing the Perfect Vinegar Cleaning Solution
To prepare an effective vinegar cleaning solution for windows, mix equal parts distilled white vinegar and water in a spray bottle. For example, combine 1 cup of vinegar with 1 cup of water. This dilution is gentle enough for most surfaces while still retaining the cleaning power of vinegar.
For particularly stubborn grime or mineral deposits, you can increase the vinegar concentration slightly, using a 2:1 ratio of vinegar to water. However, always test the solution on a small, inconspicuous area first to ensure it won’t damage the surface.
5. The Best Tools to Use with Vinegar for Cleaning
Microfiber cloths are the best tool to use with vinegar for cleaning windows and surfaces. They are highly absorbent, lint-free, and gentle on surfaces, making them ideal for achieving a streak-free finish. Avoid using paper towels, as they can leave lint and streaks behind.
For windows, a squeegee can also be a valuable tool. After applying the vinegar solution with a spray bottle, use a squeegee to remove excess liquid and prevent streaks. Be sure to wipe the squeegee blade with a clean cloth after each pass to avoid transferring dirt back onto the window.
6. Step-by-Step Guide to Cleaning Windows with Vinegar
1. Begin by dusting the window surface with a dry microfiber cloth to remove loose dirt and debris.
2. Spray the vinegar and water solution onto the window, covering the entire surface evenly.
3. Use a clean microfiber cloth to wipe the window in a circular motion, loosening any dirt and grime.
4. For a streak-free finish, use a squeegee to remove the solution from the window, starting at the top and working your way down. Wipe the squeegee blade with a cloth after each pass.
Next Page
