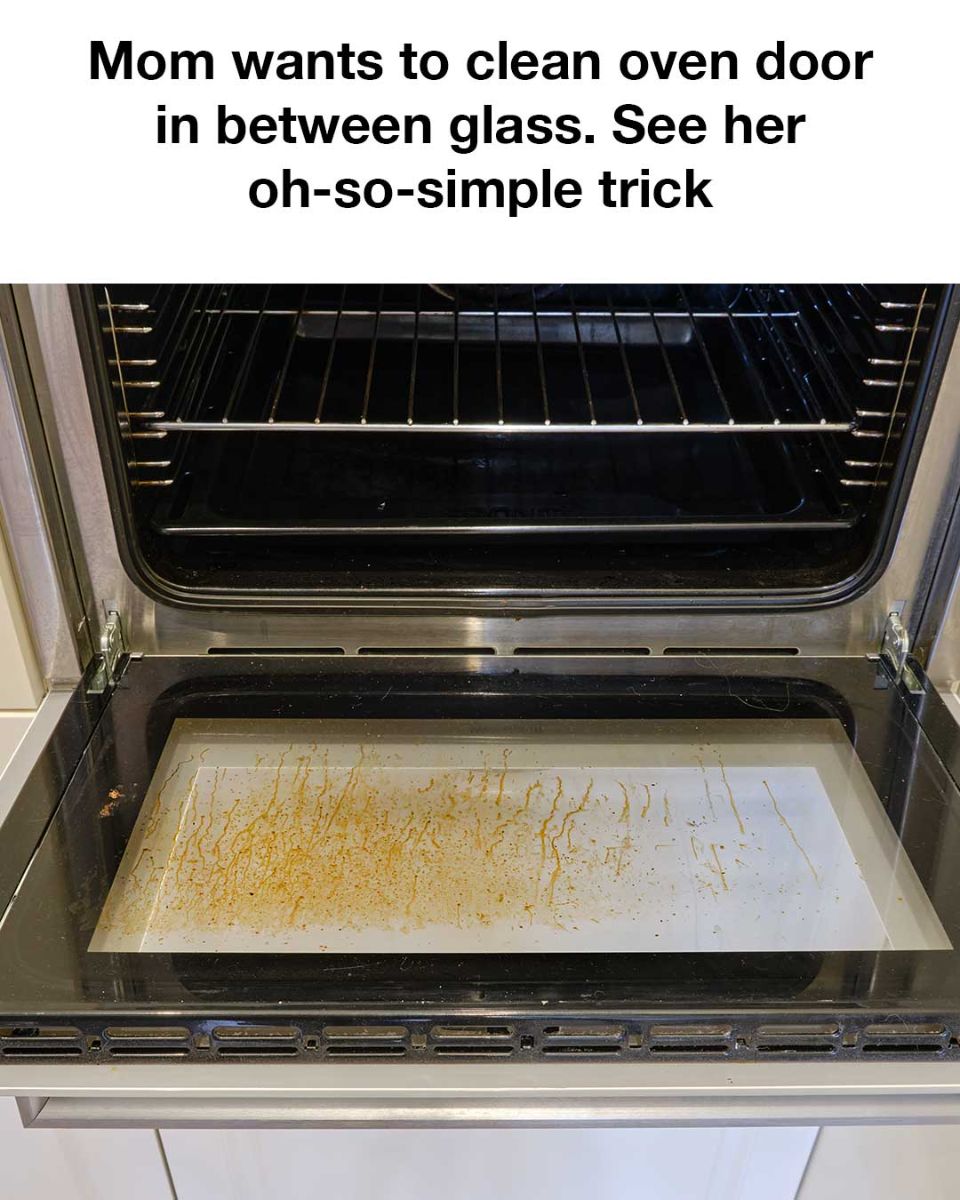
Step-by-Step Guide to Cleaning the Oven Door
1. Unplug the oven and ensure it is completely cool before starting.
2. Straighten a wire hanger and attach a microfiber cloth to one end using rubber bands.
3. Spray the cleaning solution onto the cloth.
4. Carefully insert the cloth-wrapped hanger into the vent slots at the top or bottom of the oven door.
5. Gently move the hanger back and forth to clean the glass surfaces.
6. Remove the hanger and check the results, repeating the process if necessary.
Safety Precautions to Consider
Always ensure the oven is unplugged and cool before attempting to clean it. Be cautious when using a wire hanger to avoid scratching the glass or damaging the door. Wear gloves to protect your hands from cleaning solutions and sharp edges.
Benefits of Keeping the Oven Door Clean
A clean oven door not only improves the appearance of your kitchen but also enhances the efficiency of your oven. Clear glass allows you to monitor cooking progress without opening the door, which helps maintain a consistent temperature and reduces energy consumption.
Common Mistakes to Avoid
Avoid using abrasive materials or harsh chemicals that can damage the glass. Do not force the hanger into tight spaces, as this can cause scratches or break the glass. Ensure the cloth is securely attached to prevent it from getting stuck inside the door.
Additional Tips for Oven Maintenance
Regularly wipe down the exterior and interior of your oven to prevent buildup. Consider using a drip tray or liner to catch spills and reduce cleaning frequency. Check the door seals periodically to ensure they are intact and replace them if necessary.
Conclusion
Cleaning the space between your oven door glass doesn’t have to be a difficult task. With this simple trick, you can maintain a spotless oven and enjoy the benefits of a clean kitchen appliance. By following the steps outlined in this guide, you’ll be able to tackle this common household challenge with ease and confidence.

