McKayla Davis
Contributing Writer
Repurposing an ordinary clay pot into a stunning planter using Elmer’s glue is a simple yet creative DIY project that can add a personal touch to your home decor. This budget-friendly craft allows you to bring a sense of warmth and character to your indoor or outdoor spaces without breaking the bank. By transforming a plain pot into a beautiful planter with a unique design, you can express your style and foster a sense of accomplishment from creating something uniquely yours.
This DIY clay pot planter can be used to enhance various interior design styles. For a farmhouse or rustic theme, consider painting the pot in earthy tones or adding a distressed finish. In a modern or minimalist setting, opt for sleek, monochrome colors or geometric patterns. If you’re aiming for a boho-chic vibe, add intricate patterns and bright, bold colors. Place the planter on a windowsill, bookshelf, or as a centerpiece on your dining table to add a touch of nature and elegance to your home decor.
Elmer’s Glue Painted Clay Pot Planters
Materials
1 clay pot (any size)
Elmer’s glue (4 oz bottle)
Paint (acrylic or spray paint, colors of your choice)
Paintbrushes (various sizes)
Masking tape
Sealer or varnish (optional for outdoor use)
Directions
Clean the clay pot thoroughly to ensure there is no dirt or residue. Allow it to dry completely.
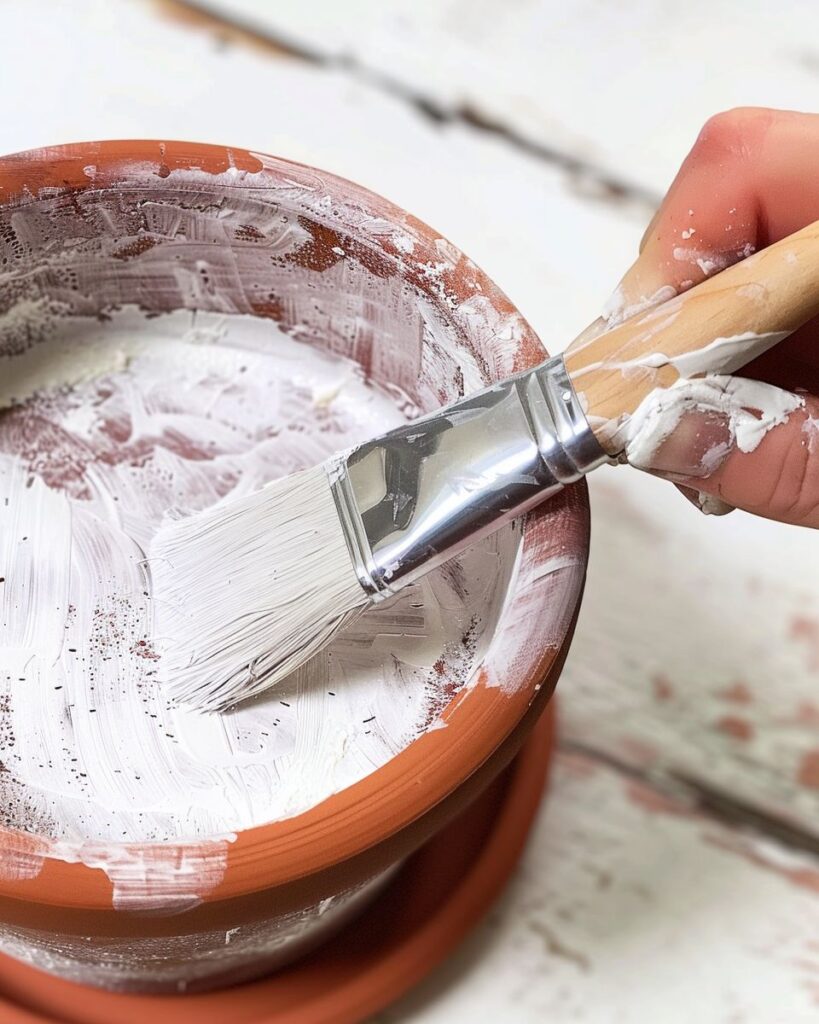
Apply a base coat of paint to the entire pot. This will be the background color of your design. Let the paint dry completely.
Using masking tape, create patterns or designs on the pot. Alternatively, you can use freehand painting for more intricate designs.
Using a paintbrush, apply a layer of Elmer’s glue over the areas where you want a crackled or textured effect. While the glue is still tacky, apply a second layer of paint. The paint will crackle as it dries, creating a unique texture.
Remove the masking tape carefully before the paint dries for clean lines. If you used freehand painting, skip this step.
Allow the pot to dry completely. If you plan to use the pot outdoors, apply a coat of sealer or varnish to protect it from the elements.
Variations & Tips
There are many variations and ways to customize this DIY project. Instead of a crackled effect, you can use sponging or stenciling techniques for different textures and patterns. Experiment with different color schemes to match your seasonal decor – pastels for spring, vibrant colors for summer, earthy tones for fall, and metallics for winter. You can also add embellishments like beads, sequins, or fabric to elevate the design. For a more natural look, consider using a matte finish instead of a glossy one. The possibilities are endless, so let your creativity flow!

