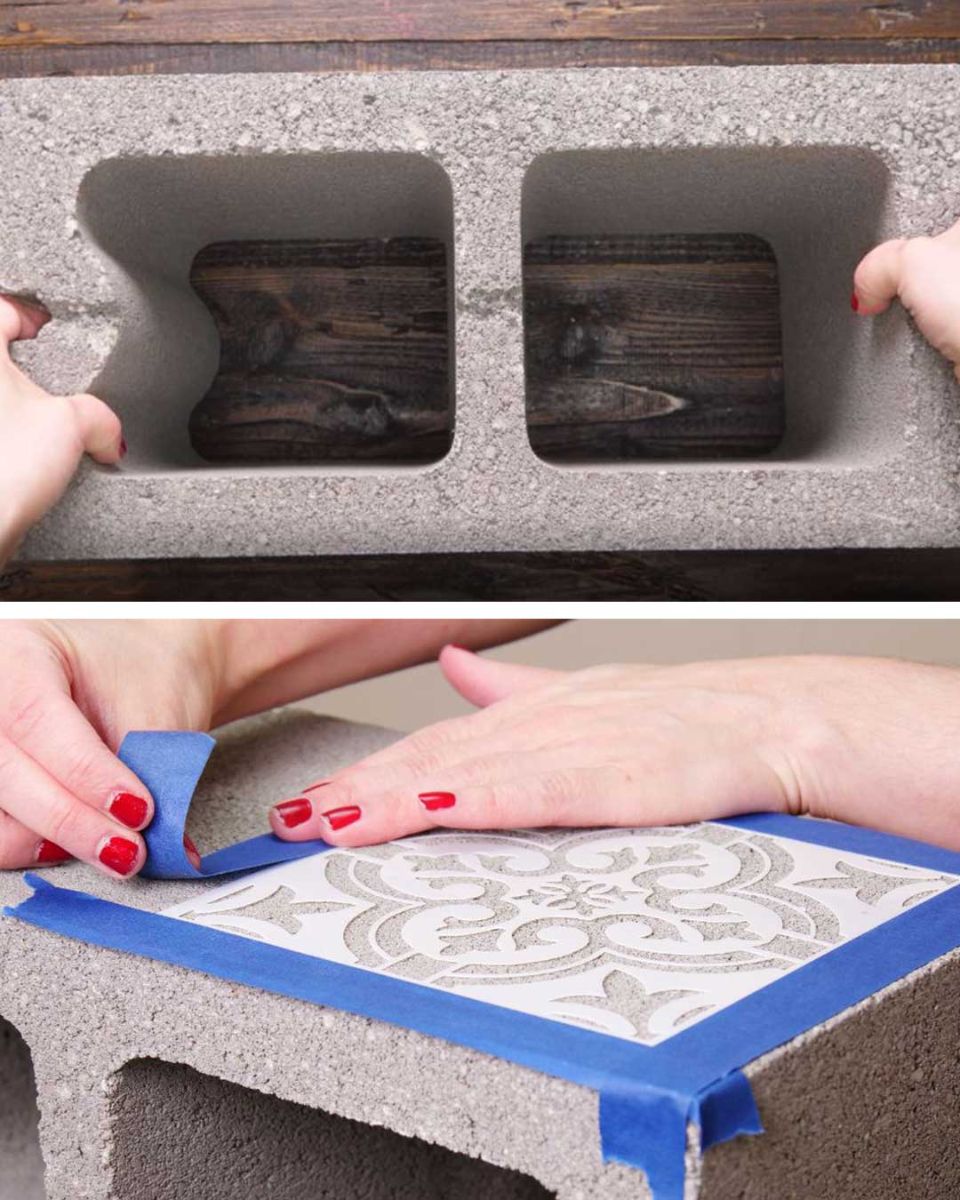
3. Brush a coat of paint over the stencil.
DIY Everywhere
4. Remove the stencil from the block.
5. Repeat steps 2 through 4, but paint the design on the area of the block that’s right next to the freshly painted section.
DIY Everywhere
6. Paint a single stencil design on one narrow end of the block.
DIY Everywhere
7. Repeat steps 2 through 6, but on the opposite solid long side of the block.
8. Repeat steps 2 through 7 on a second cinder block.
9. Lay the blocks down so that the narrow ends are facing the wall the bookshelf will be placed against and toward the room. The blocks’ stenciled ends should face frontward. Their spacing will be dependent upon the length of the wooden boards you choose.
DIY Everywhere
10. Lay your first board on top of the blocks.
DIY Everywhere
11. Place two more blocks on top of the board directly above the ones below it, but stand them vertically so that one of their open ends is front-facing. These openings can be filled with knickknacks.
DIY Everywhere
12. Place the other board on top of these blocks.
DIY Everywhere
13. The bookshelf is now ready to be filled with decor accessories, books, and other display pieces.

