2. Cut the yarn away from the skein with the scissors.
3. Cut another two-inch piece of yarn.
4. Wrap it tightly around one end of the looped yarn, about a quarter-inch from one end. Tie it in a knot.
5. Trim the ends of the knot with the scissors, but leave about a half-inch on each of the ends.
6. Take the bendable silver wire and cut a few inches from the spool.
7. Wrap the wire about 11 or 12 times around the looped yarn at the same point where you tied the knotted piece of yarn around it.
8. Trim the wire with the cutting tool and press the end into the wrapped wire so it doesn’t stick out.
9. Using the scissors, trim about a quarter-inch of the yarn from the broader, long end of the looped yarn. You’ve now created a tassel.
10. Cut a 6-inch piece of wire and put it through the hole that the small end of the looped yarn forms.
11. Insert one end of the wire through one of the button’s holes.
12. Weave the two wire ends around each other a few times so the tassel and the button are securely connected. Trim any excess wire from the ends with the cutting tool. Press the wire flat against the button.
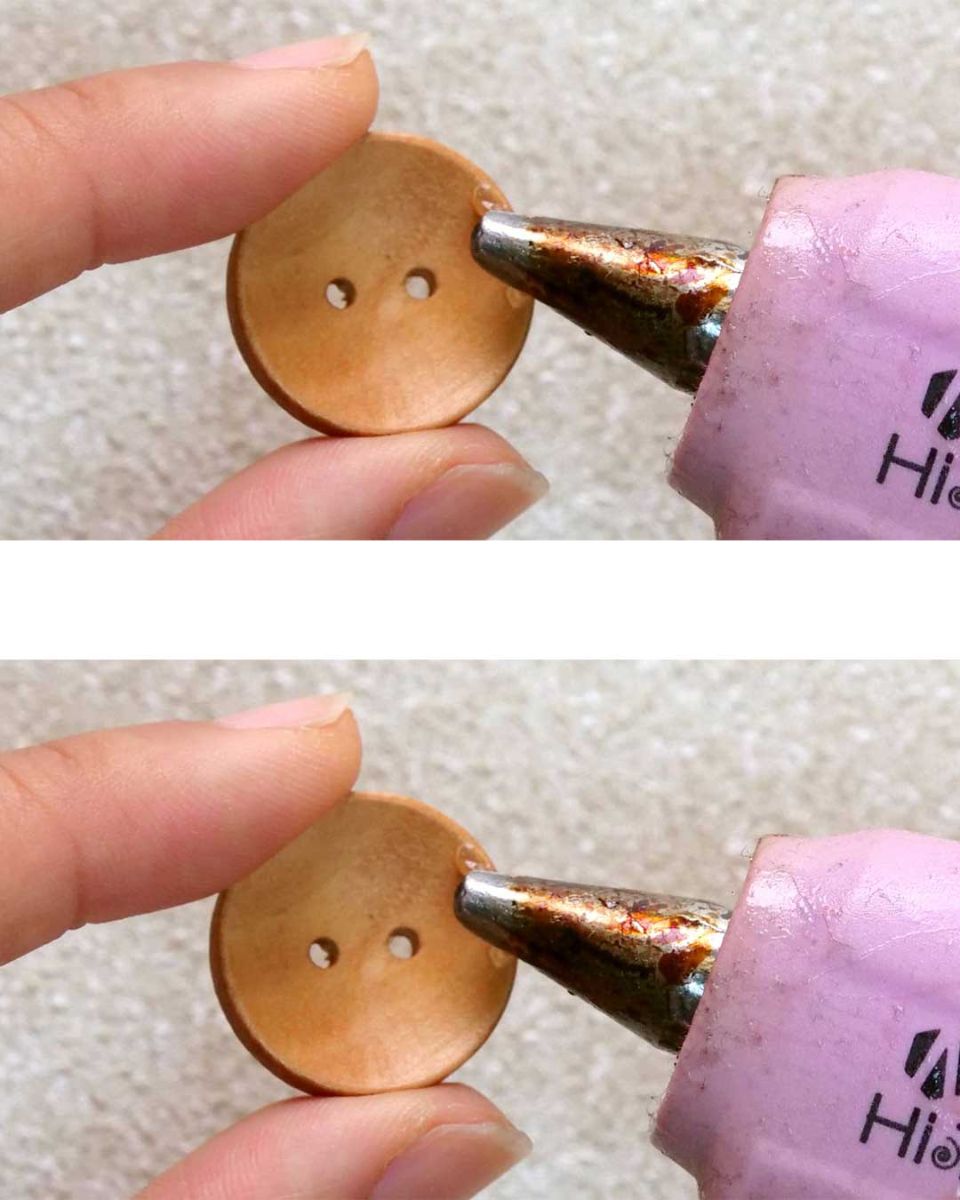
13. Using your hot glue gun, apply a few drops of glue to one side of the button.
14. Affix the magnetic disk to the button. Make sure the magnetized side of the magnet is facing out so that it can be put on the refrigerator, file cabinet, or anywhere else you want to display it.
15. Repeat steps 1-14, but make magnets with yarn in different colors, or switch up the type of buttons you use.
16. Your button magnet set is now ready for display.

