Crochet over an embroidery hoop to create a dreamy décor object you’ll love
Julie King
Contributing Writer
DIY Everywhere
Dive into the art of making your very own dream catcher with this easy-to-follow crochet project. By crocheting around a hoop, you’ll create a piece that’s not only beautiful but also deeply personal. This project is perfect for crafters of all levels—whether you’re a beginner eager to learn or an experienced crocheter looking for a fun and creative challenge.
This dream catcher is highly customizable, allowing you to infuse your personality and style into every stitch. Choose from a variety of yarn colors to match your décor or mood, and enhance your design with beads, feathers, and fringe. The possibilities are endless, making this not just a crafting project but a true work of art that you’ll be proud to display.
Materials
Any weight of yarn in as many colors as you’d like. I used worsted weight in the video.
Crochet hook in the size appropriate for the yarn used. I used a size H/5mm.
Yarn needle.
Scissors.
Embroidery hoop in any size. I used a 9″ diameter hoop in the video.
Beads.
Feathers.
Glue (optional).
DIY Everywhere
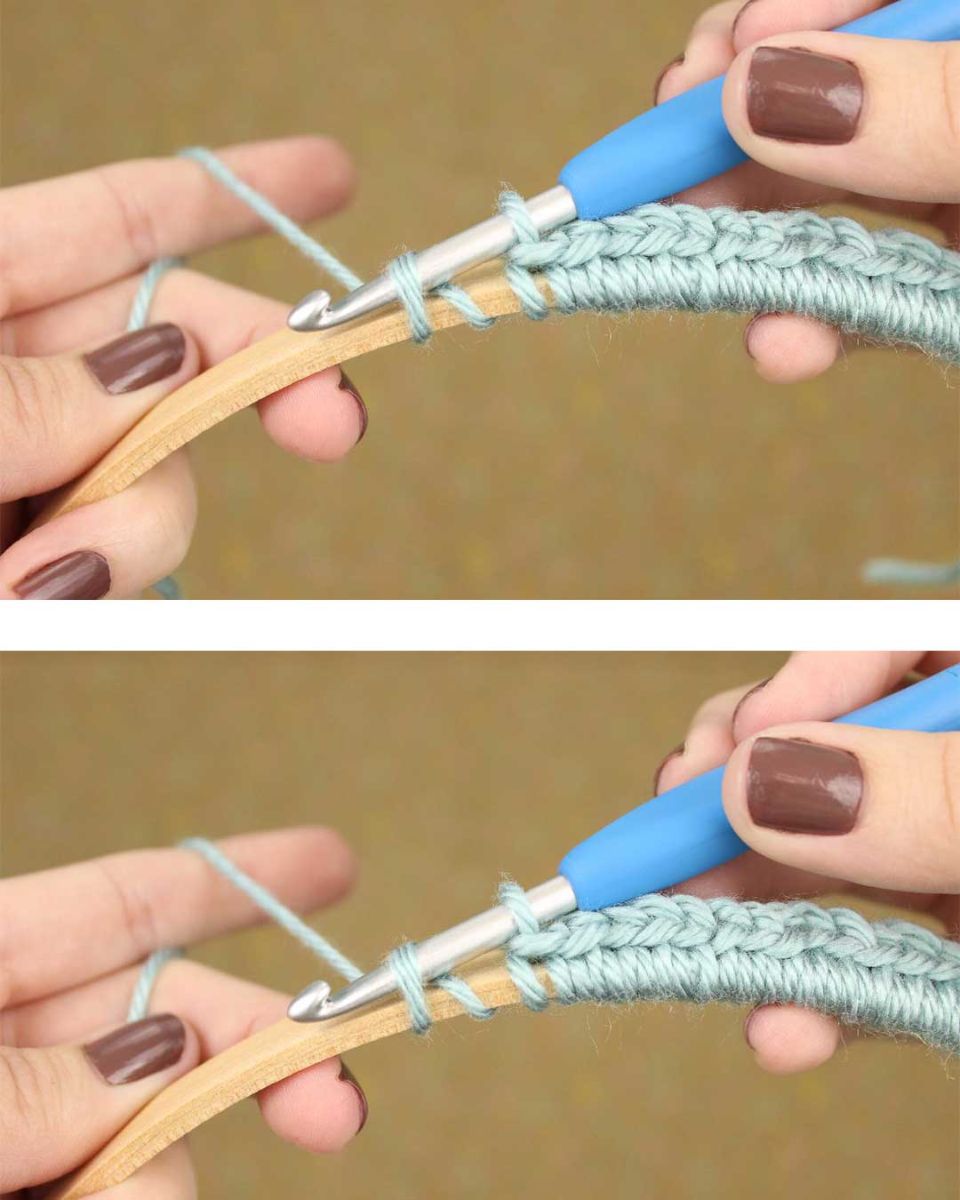
Pro tip: It can be tricky to start the first stitch around the hoop. I recommend holding the tail of your yarn securely against the back of the hoop as you reach your hook under the hoop to draw up a loop.
Pro tip: When making the webbing, I recommend cutting a small piece of cardboard to wrap your yarn around. This will help keep it from getting tangled.

