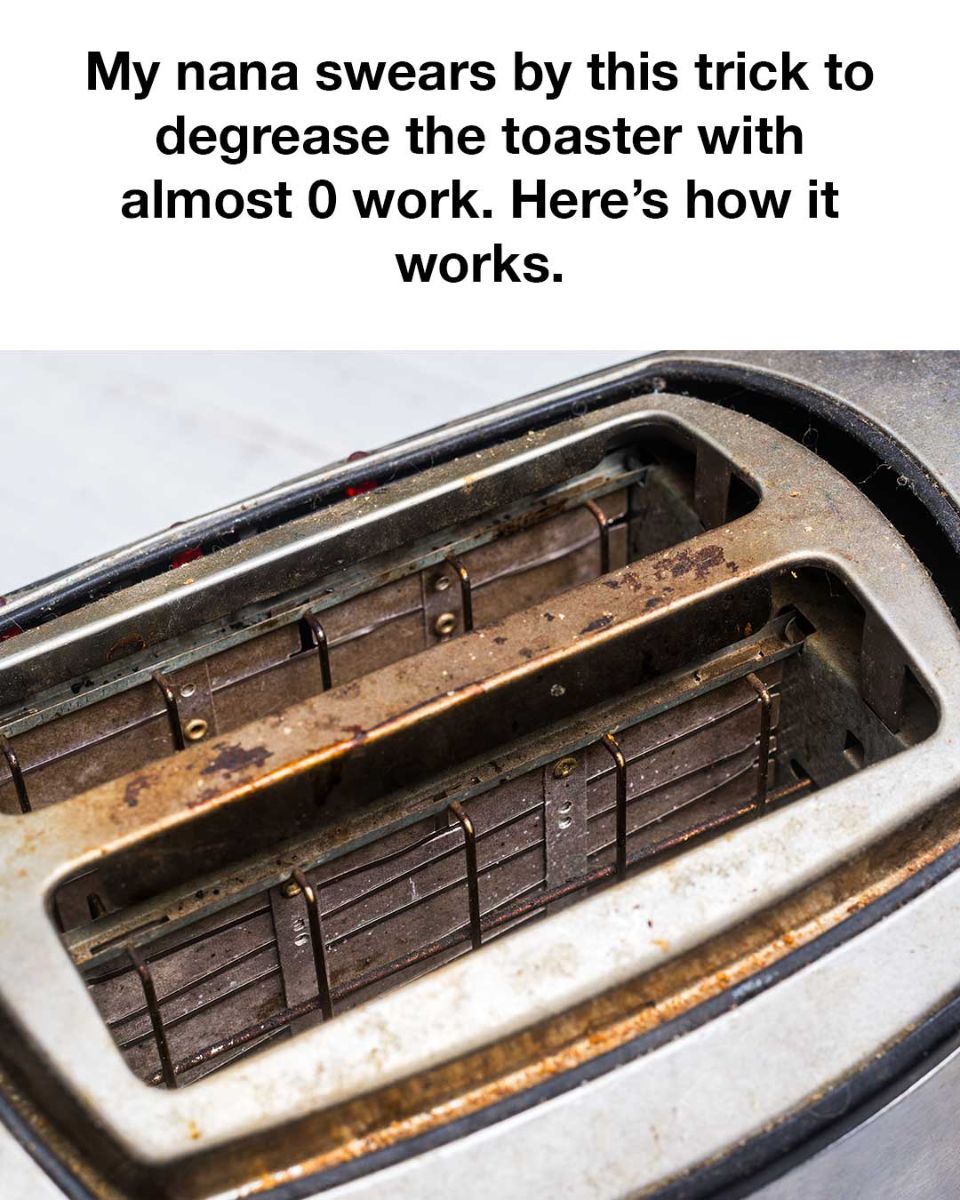
The crevices of your toaster can collect grease and crumbs over time, making it hard to reach them with just a cloth. For this, Nana uses an old toothbrush or a cotton swab. Dip it in the vinegar solution and gently scrub around the knobs, buttons, and any tight spaces.
For the crumb tray or removable parts, you can soak them in warm water with a splash of vinegar for about 10–15 minutes. This loosens any stubborn grease or crumbs. After soaking, scrub lightly with baking soda and rinse with clean water.
Step 4: Polish It Up
Once you’ve removed all the grime and grease, wipe down the entire toaster with a clean, damp cloth to remove any vinegar or baking soda residue. To make it shine, you can finish with a microfiber cloth to polish the exterior. This step gives the toaster a nice gleam without any streaks.
Nana’s tip: If your toaster is stainless steel, use a small amount of olive oil or baby oil on a microfiber cloth and wipe down the exterior in the direction of the grain. This trick helps prevent fingerprints and gives it a professional, shiny finish.
Step 5: Let It Dry and Reassemble
After everything is clean, allow the toaster and its components to dry completely before plugging it back in. Moisture and electricity don’t mix well, so be sure to give it at least 30 minutes to air dry or dry it off with a towel if you’re in a hurry. Once it’s dry, reassemble the toaster, and you’re good to go!
Why This Method Works
The combination of vinegar and baking soda is a classic cleaning hack, and for good reason. Vinegar’s acetic acid helps break down grease and grime, while baking soda’s mild abrasiveness works to lift stuck-on gunk. Plus, the chemical reaction between vinegar and baking soda (remember those school science volcanoes?) creates bubbles that help loosen dirt from hard-to-reach areas.
This method is not only efficient but also safe. Unlike commercial degreasers that can be harsh or leave behind chemical residues, vinegar and baking soda are completely non-toxic. You can even use them around food prep areas without worry. And because they’re so cheap and readily available, you won’t need to shell out for pricey cleaners that might not even work as well.
Other Benefits of This Trick
Beyond its effectiveness in cutting through grease, here’s why this cleaning trick is a winner:
No Harsh Chemicals: Commercial degreasers often contain harsh ingredients that can leave chemical residues, especially near your food. Using vinegar and baking soda means you can clean with peace of mind.
Environmentally Friendly: Vinegar and baking soda are eco-friendly alternatives to store-bought cleaners, reducing the chemical footprint in your home.
Cost-Effective: You probably already have these ingredients in your pantry, making this a budget-friendly cleaning solution.
Low Effort: Unlike scrubbing away with soap and water, this method does most of the work for you. Vinegar dissolves the grease, and the baking soda provides just enough scrubbing power without being abrasive.
A Toaster That Looks as Good as New
Next time you notice your toaster looking greasy or grimy, there’s no need to stress. With my nana’s simple trick, you’ll have it sparkling in no time—with minimal effort. This method is gentle, effective, and leaves your toaster looking as good as the day you brought it home. Whether you’re sprucing up the kitchen before guests arrive or just staying on top of your cleaning routine, this easy hack will help you keep your toaster in tip-top shape.
So next time your kitchen appliances need a quick refresh, remember Nana’s vinegar and baking soda trick—it works like magic!

